Like the back, I re-marked the center lines on the soundboard and then lightly dry clamped it to the neck and tail blocks.


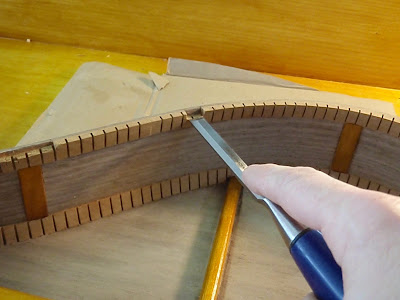
I then marked where the braces and tone bars needed to be cut, as well as their positions on the sides, which I transfered to the kerf.


When everything was marked I then cut and chiseled the braces, tone bars and kerf.


Once everything was ready to go, I put a bead of glue on the kerf (N.B., try not to spread too much, as you won't have a chance to wipe away any squeeze-out from the inside of the box). When the glue is adequately spread about, you can clamp the soundboard.


When the glue dried (I let it sit overnight before unclamping), I routed off the excess with a flush-cut bit as I did with the back.

Here is the box after I routed the overhang:


No comments:
Post a Comment