Friday, May 7, 2010

Octave Mandolin Build, Part 10

Leveling the Frets and Cutting out the Peghead
After the fretboard had dried overnight I unclamped it and reattached the neck to the box. I also placed a protective cover over the soundboard in case of any slips while leveling. Using a fret file that I purchased from Stew-Mac I went about the process of initial leveling. After a few passes all of the frets were level (N.B., to find level I kept checking with a straightedge).


Next, I cut a 30 degree angle on the fret ends using a homemade file-gizmo. I took a scrap piece of 2"x4", cut some slots in it which help stop metal shavings from maring the fretboard, and cut the 'handle' at a 30 degree angle on the table saw (you could use a band saw just as easily). Then I placed a strip of double-sided tape on the block and attached a file. Moving back and forth on both sides of the fretboard, holding the file tight to it, I was able to achieve the angle on the fret ends that I wanted.


After that was completed, I used a number of small sanding blocks to polish the frets - going from 120 grit up to 2000 grit.


I then taped between the frets. Using a small triangle file I 'rounded' the fret ends by using a downward sweeping motion right-to-left and then left-to-right on each of the frets. This helps to remove any rough spots on the fret ends. When that was completed, I hit the frets with some steel wool, and removed the tape to see a nice shine.


The next thing on the agenda was to cut out the peghead. Finding the centerline, I traced out the pattern on the peghead veneer. To get the proper angle for the headstock, nearest the nut, I clamped the neck into the jig and started cutting it out.


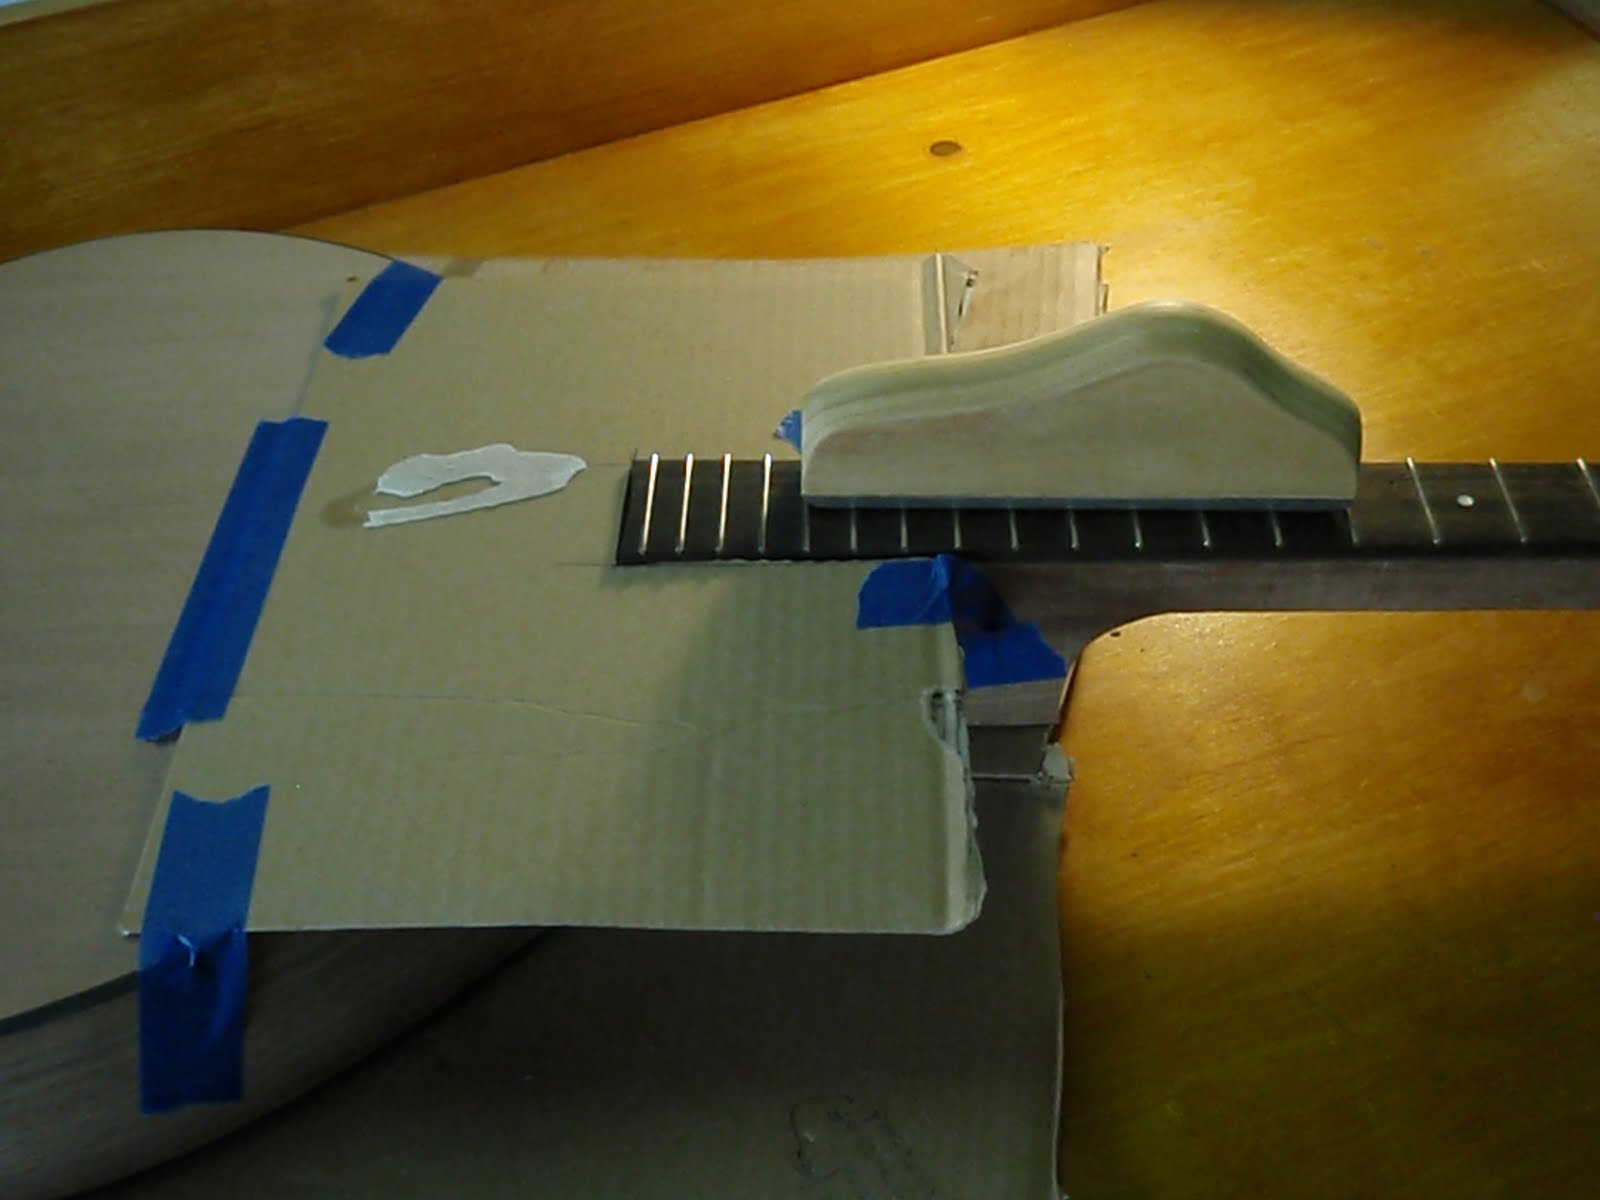
However, I didn't want the sides of the rest of the peghead to be angled, so I traced the pattern on the back of it in order to have a flat surface (i.e., the 'top' of the peghead) on which to cut. But, I ran into a little bit of an issue - the fretboard, nearest the nut, would not allow the peghead to sit flat on the bandsaw table. To correct for this, I planed down some scrap wood the thickness of the fretboard and attached it, using tape, to the top of the peghead. This allowed me to get a nice cut.


To finish up, I initially sanded the cut sides using a sanding drum on the drill press, and then finished them by hand sanding down to 320 grit.

Sunday, May 2, 2010

Octave Mandolin Build, Part 9

Fretting and Gluing the Fretboard to the Neck
Don's kit came with a pre-sawn fretboard. So, I marked and drilled the holes for the position markers, dropped some CA in the holes, and inlayed them. After dry, I sanded with 100, 150, 220, 320 and 400 paper to level the position markers and to get a smooth surface. It looked like this after sanding was completed:


After everything was sanded I then fretted the slots. I took an old scrap 2"x2" I had in the shop and drilled a number of holes in it to hold the fret wires so that they didn't get all mixed up after being cut. Starting on the side closest to me I 'set' each fret with a quick blow of the fret hammer. I then tapped across the fret to the opposite side of the board, and tapped back towards me. Most of the frets set well, though there were a couple that I had to go back and give some extra taps.


I then took a pair of nippers that I ground down flat and clipped the excess overhang as flush to the fretboard as I could get it. Once that was complete I was prepared to glue the fretboard to the neck . . . however, I ran into a little problem. One of the videos I have shows a trick for holding the fretboard in place while clamping it. Instead of pre-drilling pin holes and inserting a pin, the video demonstration showed using a staple gun, shooting a staple into the fretboard, and then just clipping of the extra 'side' of the staple. 'Simple!', I thought. However, my staple gun was made circa 1960 and is still as powerful now as I'm sure it once was. Needless to say, I shot the first staple in without a hitch, but the second one shot through the fretboard and split it out. What made this all the more shocking was that I was holding the staple gun a good inch from the board!! Here is a picture, after I had pulled the staples and fret out:


Thank goodness for CA glue! I used the thin stuff and it completely filled in around the cracks. I clamped it together really quickly (being sure to cover it in wax paper before clamping) and let it set. Once dry, I sanded it down on both the front and back, and reseated the fret. It came out pretty well.


The next step is to center the fretboard on the neck, but in order to do that you first need to have a good fit between the neck and the box. Kawalek's kit comes with a mortise block and tenon neck, which actually makes fitting the box and the neck a snap. First, you need to remove the bit of soundboard covering the mortise. I did this using a pull saw and an exacto knife. Next, I placed a piece of self-adhesive 120 grit sand paper over the mortise block, and using a razor blade, cut out the area directly above mortise itself.

Here is the cut-out:


Here is the sandpaper on the mortise block:


After the sandpaper is in place, you need to insert the neck into the mortise, and using even downward pressure, slide the neck back-and-forth sanding the tenon joint until you start to see sawdust showing clearly on the paper. Be sure to check often, and try not to sand too much. You just want to make a nice tight fit. Here are some pics:


Once I had a tight joint, I then loosely tightened the bolt and layed the mando down on its back. From here, I followed Don's instructions for centering the fretboard. First, I inserted the nut. Second, I sanded the nut end of the fretboard to fit the angle of the nut tightly. Then, I found the center of both ends of the fretboard, as well as the center of the soundboard. Getting all of the lines straight, I clamped the fretboard in place and marked its location on the neck and on the soundboard. I also laid a straightedge along the side of the fretboard and marked where it would line-up at the tailblock. When everything looked good I removed the neck from the box. I took the neck to the bandsaw and removed the excess from it, almost to the line I had drawn for the fretboard. After checking the 'flatness' of both the neck and the bottom side of the fretboard, I then glued and clamped the fretboard to the neck. (N.B., be sure to make a clamping caul so the fretboard doesn't get scuffed up by the clamps.)


And, here it is all clamped up: