After the end piece was finished, I glued the neck block to the sides. Notice that I did this in the form we discussed earlier, and that I had everything tightened up before inserting, gluing and clamping the block. I let it dry overnight before doing anything else.


When dry, I took it out of the form and it looked like this:

The Kerf
To install the kerf I put the sides back in the form and mounted the form in my bench vice. I glued up small pieces of kerfing (6-8"), one at a time, and clamped them to the sides with binder clips and clothes pins. When gluing them on, be sure to take your time and try to get the kerfing flush with the sides, or just a hair higher. It will make for less sanding once they dry. Here are a few pictures of the process:


The Side Support Braces
When the glue dried on the kerfing I removed the binder clips. I made the side support braces (four of them) from a piece of cherry that I will be using on the headstock. These measured approximately 6mm x 40mm x 2 mm. I cut the pieces out on the band saw, planed them to size with a low angle block plane, sanded them well, and then cut them to fit with a pull saw. I marked the spots on the inside of the sides where I wanted them to go and then glued and clamped. Here are a few pics:


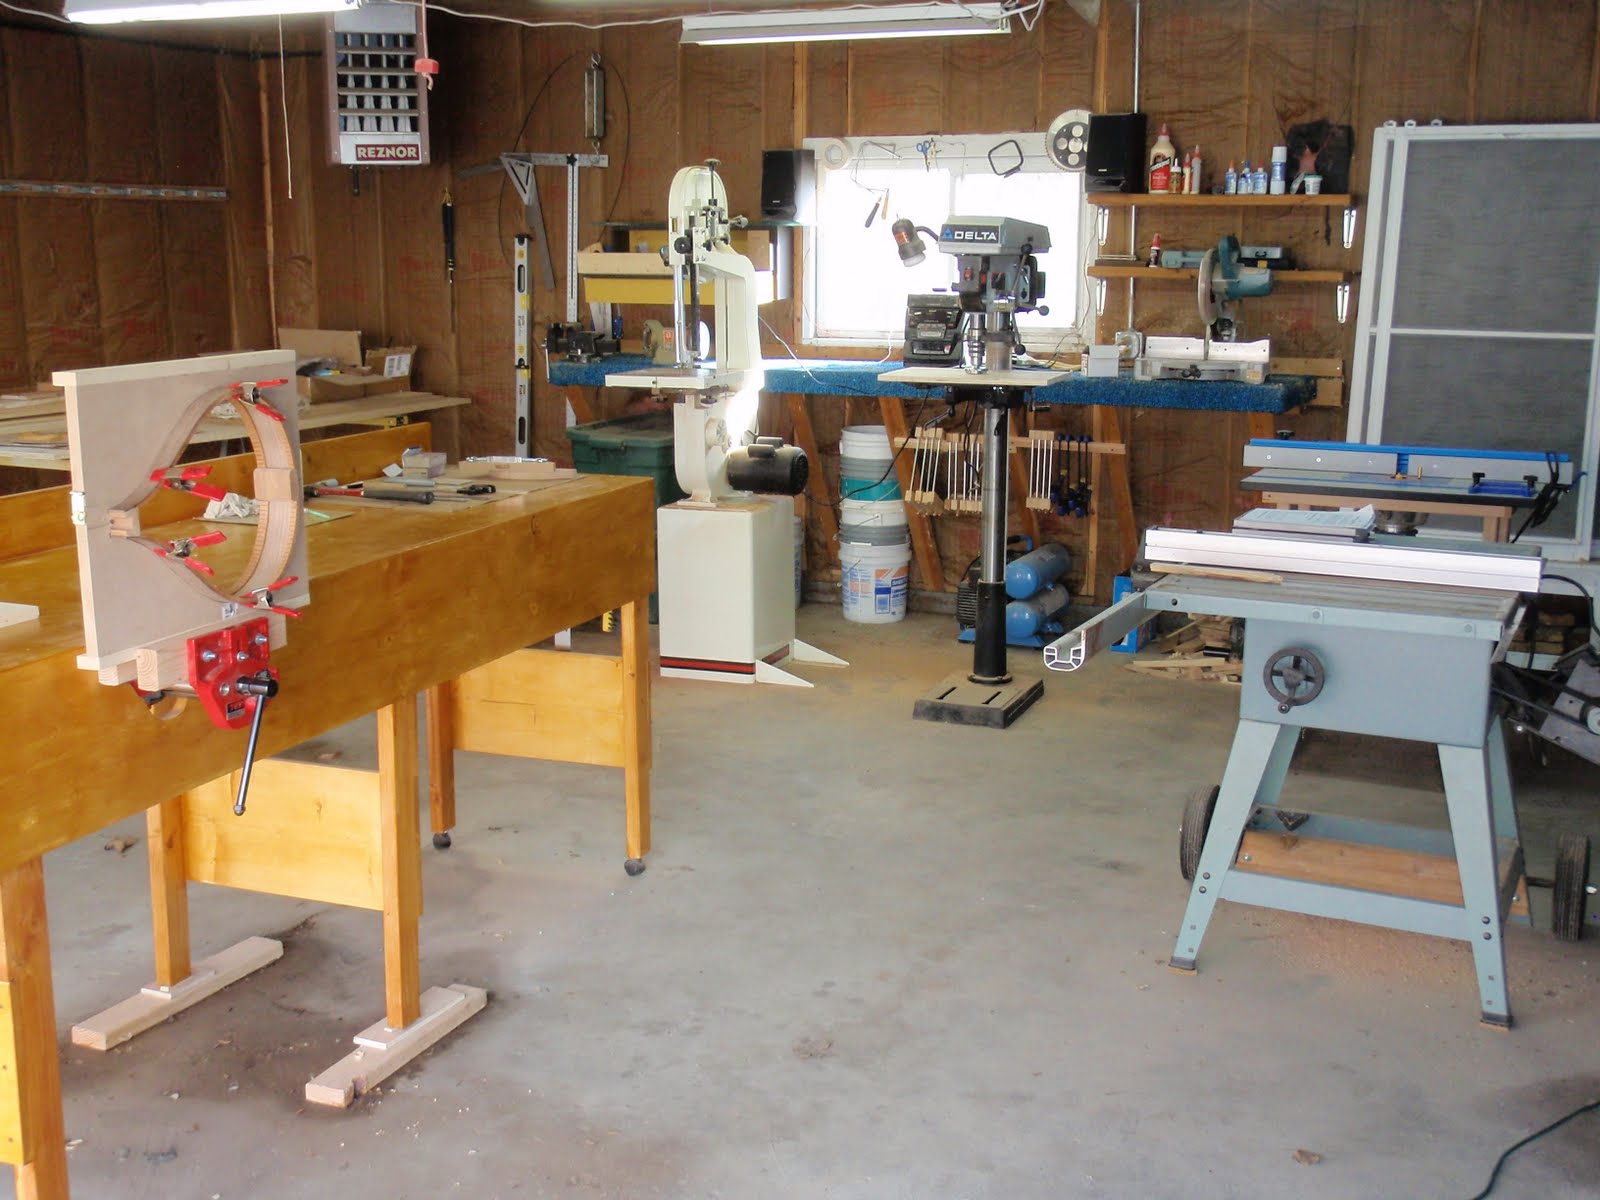
And a shot of 'the shop' with the form:
excellent work so far . love the blog design . LOL stop in and see mine and you will see why.
ReplyDeleteits nice to see the progression of a build going on .
www.wiksnwudwerks.blogspot.com