Before I routed the top and back binding channels, I coated the edges with clear shellac in order to minimize tear-out. There are numerous opinions out there concerning whether this step is or is not necessary. But, because I am insanely anal retentive about certain things, I went ahead and shellaced just to be sure.

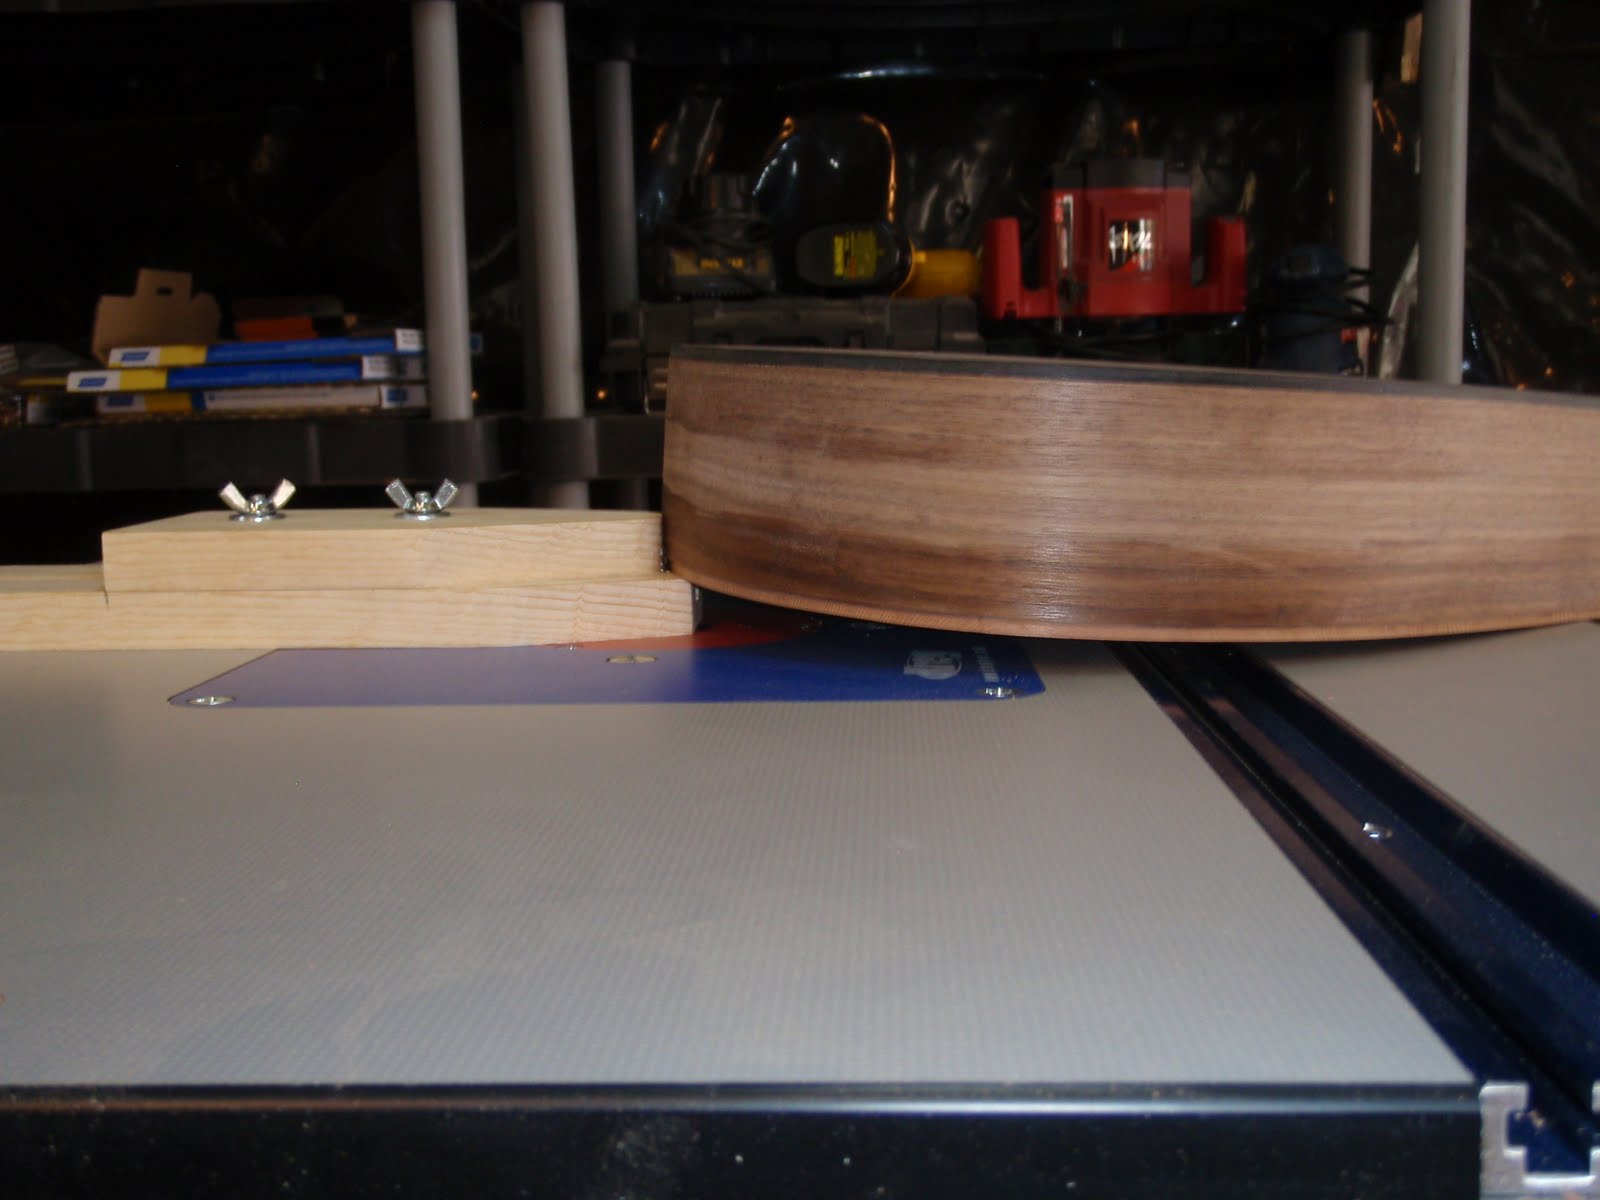
Depending on how wide and how thick your binding is will dictate the depth and width of the channel you route. When routing, it is usually best to take two or three passes (changing depth and width after each), rather than trying to route the entire channel depth/width all in one pass. The picture below shows one route, and then the second one started. Hopefully the picture is self-explanitory.

Here is the back fully routed.

Once the route is complete you can apply the binding. Since my binding is made out of ABS I used CA glue on the back (on the soundboard I used Titebond wood glue . . . as a test). It is a good idea to get everything set-up and ready to go before you start gluing. So, you will want to make sure that the binding channel is completely clean and level. If it is not then you can chisel out the areas that need work. You also want to have a number of pieces of tape cut and ready to go (see the pics below) to 'clamp' the binding once glued. Starting at the neck block, place a little glue in the channel, fit the binding, and get a couple of pieces of tape on it (place the tape on the back and/or soundboard first and then pull it tightly over the edge, securing it on the side). As you progress try to lap each consecutive piece of tape over the previous one to aid in the tape's holding power. Here are a couple of pictures:


Be sure to give the glue adequate time to try before you remove the tape. After you do take the tape off, you will then need to scrape and sand the binding. I used hand scrapers to remove the majority of the excess binding and then sanded the rest. Here is the back after those steps were taken:


Here are some pictures of the binding of the soundboard:


One of the things that I should have done was shellac the top a little more. As you can see from the picture below, when I took the tape off some of the fine fibers from the soundboard, where it was not shellaced, came off with the tape.

Here is the soundboard and back binding completed (N.B., if you were worried about adding the shellac, don't. The single coat very easily sands off).


No comments:
Post a Comment